Essential Steps for Inspecting a Used Car Before Buying
Purchasing a pre-owned vehicle involves a number of considerations, and one of the most critical stages is the inspection process. A systematic evaluation of the car’s condition can provide valuable insights into its overall health and maintenance history. While no inspection can guarantee future performance, a methodical approach helps reduce the risk of unexpected mechanical or structural problems.
This article outlines a step-by-step framework for inspecting a used car. The focus is on practical steps that can be taken without specialized equipment, as well as recommendations for professional assessments. Understanding what to look for and how to interpret findings allows a buyer to make a more informed decision.
From the exterior body to the engine bay and the driving experience, each area offers clues about how the vehicle has been treated. The following sections describe key aspects of a thorough inspection and how they fit into the overall evaluation process.
Evaluating the Exterior Body
The condition of the body panels and paintwork can reveal a great deal about the car’s past. A consistent color and finish across all panels is a positive sign, while mismatched shades or uneven texture may indicate previous repairs. Paint thickness can vary between factory and aftermarket applications, so differences in gloss or orange peel texture are worth noting.
Inspect the gaps around doors, hood, trunk, and bumpers. Uneven or excessive gaps sometimes point to structural damage or poor repair work. Look for signs of rust, particularly along the lower edges of doors, wheel arches, and under the trim. Surface rust may be cosmetic, but bubbling paint or perforated metal often indicates more advanced corrosion that can compromise structural integrity.
Check all lights, lenses, and reflectors for cracks or moisture buildup. Headlights that appear cloudy or yellowed may reduce visibility and suggest the vehicle has been exposed to harsh conditions. Also examine the tires for uneven wear patterns, which could be a symptom of alignment issues or suspension problems. Ensure the spare tire and jack are present and in usable condition.
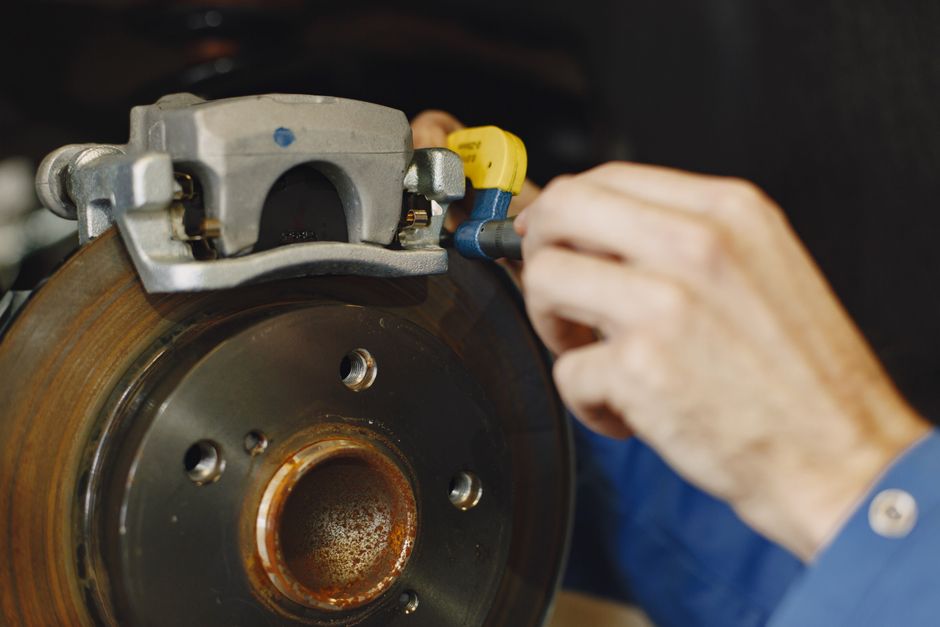
Inspecting the Engine and Mechanical Systems
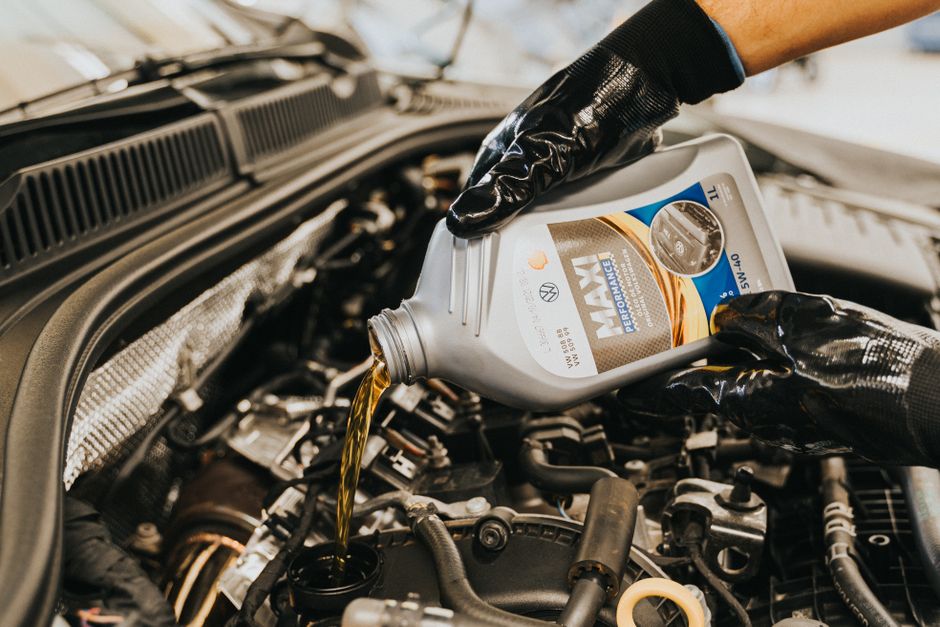
Opening the hood and examining the engine compartment provides a direct look at the mechanical heart of the vehicle. Start by checking the overall cleanliness. A small amount of dust is normal, but heavy grime or fresh oil residue around gaskets and seals may indicate leaks. Look at the valve cover, oil pan, and timing cover for signs of seepage.
Fluid levels and condition offer important clues. Pull out the engine oil dipstick and wipe it clean, then reinsert and check the level. The oil should appear amber or light brown; a dark, gritty, or milky texture can suggest contamination or internal issues. Similarly, check the transmission fluid dipstick if accessible. Automatic transmission fluid is typically red or pink and should not smell burnt. Coolant should be clear or lightly colored, without oil floating on the surface. Brake fluid should be at the proper level and not appear dark or cloudy.
Examine the belts and hoses for cracks, fraying, or excessive wear. A belt that is too loose or too tight can affect charging or cooling system performance. Squeeze hoses gently to feel for soft spots or bulges, which may indicate internal deterioration. Also listen for any unusual sounds coming from the engine bay when the engine is running, such as ticking, knocking, or whining, and note whether the idle is smooth or rough.
Assessing the Interior and Technology Features
The cabin environment provides insights into how the vehicle was used and maintained. Begin by examining the seats and upholstery for stains, tears, or excessive wear. Worn driver seat bolsters often indicate higher mileage, even if the odometer shows otherwise. Check all seat adjustments and ensure they operate correctly, including power seats if equipped.
Turn on the ignition and test all interior electronics. This includes the air conditioning and heating system, audio system, power windows, door locks, mirrors, and any infotainment screen. Verify that the dashboard warning lights illuminate briefly during startup and then turn off. Any warning light that stays on, such as the check engine light, ABS, or airbag indicators, should be investigated further.
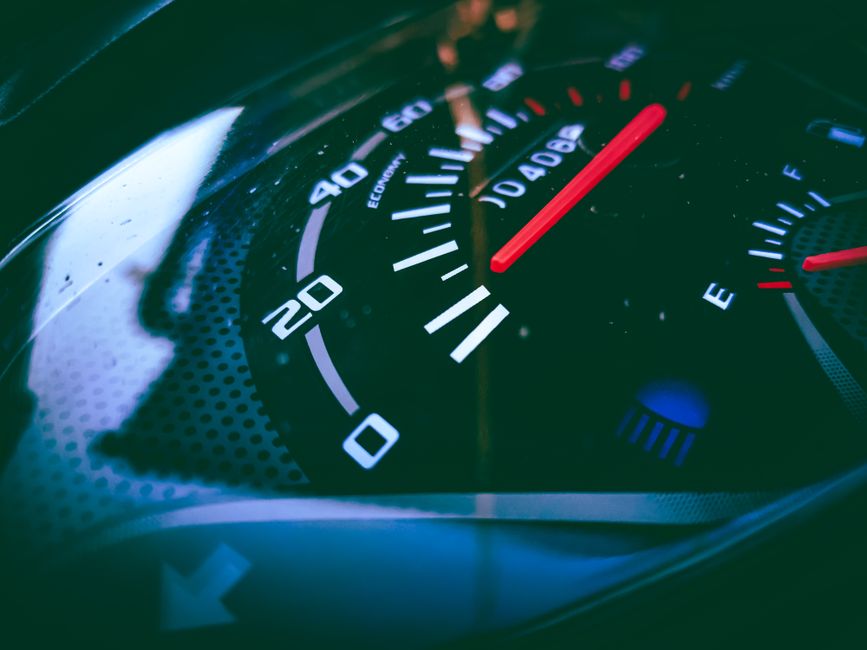
Inspect the condition of the steering wheel, pedals, and gear selector for signs of excessive wear. A worn steering wheel cover or smooth pedal pads can align with high mileage. Compare the odometer reading to the general wear of the interior; a significant discrepancy may raise questions about the accuracy of the mileage. Also test the operation of the parking brake and ensure that all seatbelts retract and latch properly.
Conducting a Thorough Test Drive
A test drive is one of the most informative parts of the inspection process. Before starting the engine, sit in the driver seat and adjust the mirrors and seat to a comfortable position. Start the engine and listen for any unusual noises at idle. Allow the engine to warm up for a few minutes while observing the temperature gauge and any dashboard warnings.
Drive the car on a variety of road surfaces if possible. Accelerate gently and then briskly to assess engine response and transmission behavior. Automatic transmissions should shift smoothly without hesitation or harsh jerks. Manual transmissions should engage gears cleanly without grinding or resistance. Pay attention to any vibrations, pulling to one side, or clunking sounds when turning the steering wheel.
Test the brakes at moderate and low speeds. The pedal should feel firm and respond consistently. Any pulsation through the pedal or steering wheel may indicate warped rotors. Also test the parking brake on a slight incline. Evaluate the suspension by driving over bumps and uneven pavement; excessive bouncing, rattles, or thuds can suggest worn shocks or struts. Listen for wind noise or water leaks at highway speeds, which may point to worn seals or poor door alignment.
Utilizing an Inspection Report and Vehicle History
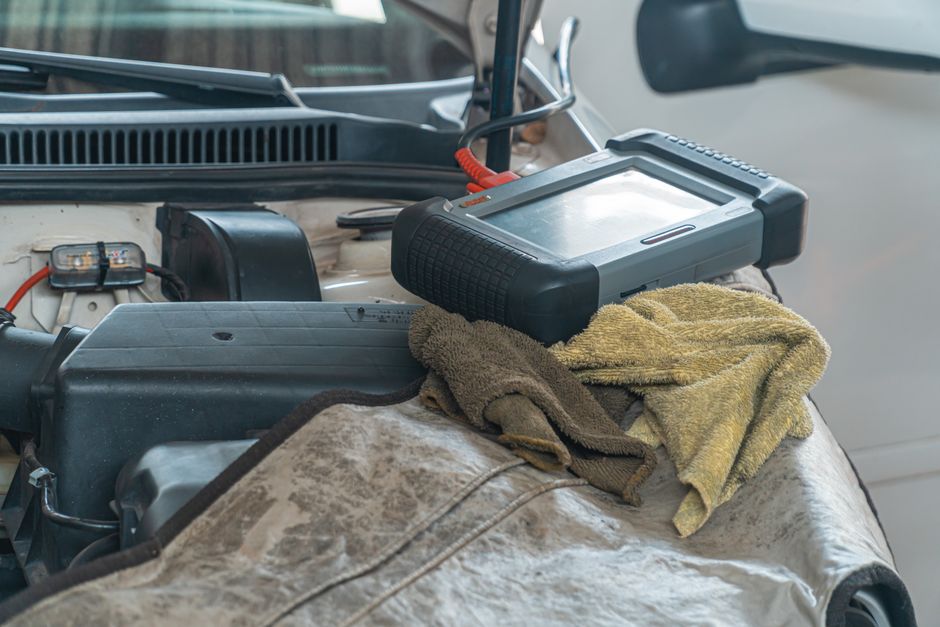
While a personal inspection covers many aspects, a professional inspection from a trusted mechanic can provide a deeper level of analysis. Many independent shops offer pre-purchase inspection services that include a comprehensive checklist, diagnostic scans, and a written report. This report typically covers the condition of major systems, any detected faults, and an estimate of needed repairs.
In addition to a mechanical inspection, obtaining a vehicle history report is a standard practice. Reports from services such as CARFAX or AutoCheck can reveal past accidents, title issues, odometer discrepancies, and service records. Not all accidents are reported, but a clean history is generally a reassuring sign. Cross-reference the inspection findings with any reported maintenance to see if the vehicle has been serviced regularly.
Companies like Car Mentor offer educational resources and checklists that help buyers structure their inspection process. Using such tools can increase confidence and ensure that no critical step is overlooked. The combination of a personal assessment, a professional inspection, and a vehicle history report creates a strong foundation for evaluating a used car. Each component contributes a different layer of information, and together they support a more comprehensive understanding of the vehicle’s condition.