How to Change Your Car’s Oil at Home in Five Steps
Regular oil changes are a fundamental aspect of vehicle maintenance, helping to keep the engine lubricated and running smoothly. For many car owners, performing this task at home can be a practical way to stay involved in the care of their vehicle while potentially reducing service costs. Understanding the basic procedure and having the right tools are the first steps toward completing the job safely and effectively. This guide outlines a general process that can be adapted for many common car models, though it is always advisable to consult the owner’s manual for model‑specific details and recommended oil types.
Before beginning, it is important to consider the workspace and safety precautions. Performing an oil change on a level surface with adequate ventilation is recommended. The engine should be allowed to cool slightly after running, but a warm engine allows the oil to drain more freely. Protective gloves and eyewear can help minimize contact with hot oil and debris. Having a suitable drain pan, a filter wrench, and the correct oil and filter on hand will streamline the process. The following steps outline a typical approach to changing oil at home, with an emphasis on methodical preparation and careful execution.
Step 1: Gather the Necessary Tools and Materials
Having the right equipment before starting can make the process smoother. Commonly required items include a socket wrench or a combination wrench that fits the drain plug, an oil filter wrench that matches the filter type, a drain pan capable of holding the old oil, a funnel, and a set of ramps or a jack and jack stands for lifting the vehicle if necessary. The new oil and a replacement oil filter should match the specifications outlined in the vehicle’s owner manual. Additionally, a shop towel or rag for cleanup and a plastic bag for the used filter are useful.
It is also helpful to have a torque wrench if the drain plug requires a specific tightening specification. Many drivers find that keeping a basic tool kit dedicated to oil changes simplifies the process. Checking the condition of the tools before starting, particularly the filter wrench, can prevent unexpected difficulties. Organizing these items in a convenient location near the vehicle helps maintain a steady workflow.
Step 2: Prepare the Vehicle for the Oil Change
Safety is a primary concern when lifting any vehicle. If the underside of the car is not easily accessible without raising it, using ramps or a jack with jack stands is recommended. The vehicle should be parked on a solid, level surface, and the parking brake should be engaged. Placing wheel chocks behind the rear wheels can provide additional stability if the front of the car is raised. Some vehicles have a low ground clearance that allows direct access to the drain plug and filter without lifting, but checking the clearance beforehand is advisable.
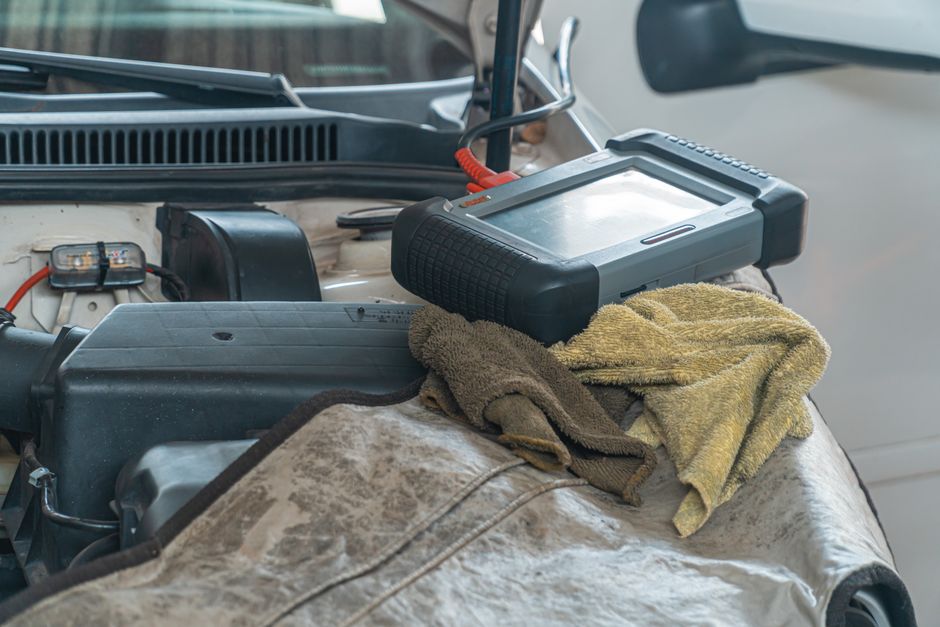
Once the vehicle is securely positioned, locate the oil drain plug underneath the engine. It is typically a large bolt at the lowest point of the oil pan. The oil filter is often nearby, though its placement varies by model. Consulting the owner manual or an online reference for the exact locations can save time. Before moving to the next step, ensure the drain pan is placed directly under the drain plug, with enough room to catch the flow of oil as it exits.
Step 3: Drain the Old Oil
With the drain pan positioned correctly, use the appropriate wrench to loosen the drain plug slowly. It is advisable to turn the plug counter‑clockwise until it can be removed by hand, keeping a firm grip to avoid dropping it into the drain pan. Once the plug is free, allow the oil to flow into the pan. The oil may be hot, so letting it drain fully without rushing is important. Draining typically takes several minutes, depending on the oil viscosity and engine temperature.
After the flow has slowed to a drip, inspect the drain plug for any metal particles or debris, which can indicate engine wear. Clean the plug with a rag and, if necessary, replace the crush washer that often seals the plug. Some vehicles use a reusable gasket instead. Once the plug is clean, reinstall it by hand to avoid cross‑threading, then tighten it to the torque specification provided in the owner manual. Over‑tightening can damage the oil pan or strip the threads. Finally, move the drain pan aside to prepare for filter removal.
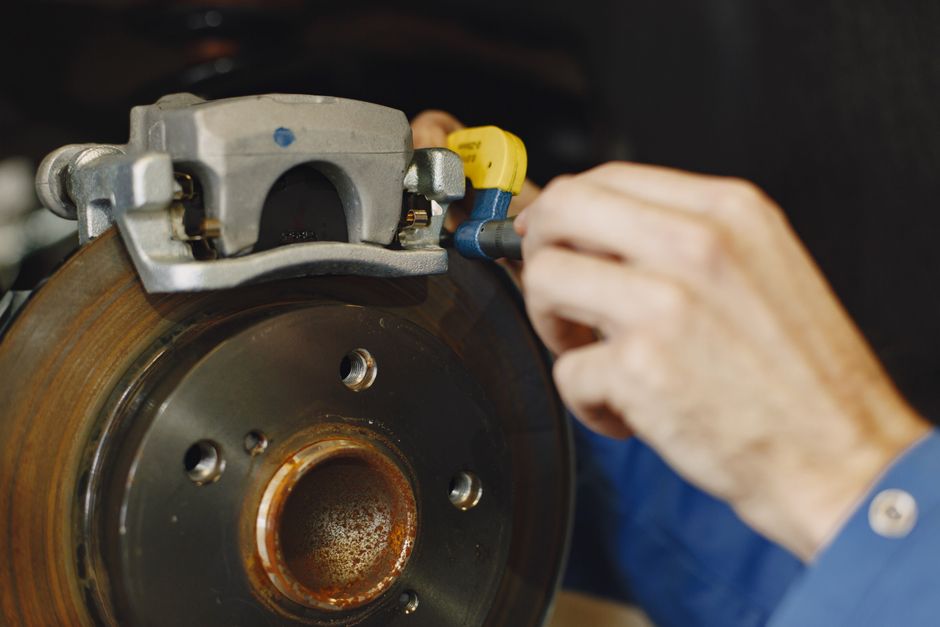
Step 4: Replace the Oil Filter
The oil filter may still contain residual oil, so positioning the drain pan beneath it is recommended before loosening it. Using an oil filter wrench, turn the filter counter‑clockwise to break the seal. If the filter is tight, a strap‑style or cap‑style wrench may be more effective. Once loosened, unscrew the filter by hand and carefully lower it into the drain pan or a plastic bag to contain the remaining oil. Wipe the filter mounting surface on the engine with a clean rag to remove any old gasket material or debris.
Before installing the new filter, apply a small amount of fresh oil to the new filter’s rubber gasket. This step helps the gasket seal properly and makes future removal easier. Screw the new filter onto the mounting base by hand, turning it clockwise until the gasket makes contact. Then, tighten it an additional three‑quarter turn, or as specified by the filter manufacturer. Over‑tightening can deform the gasket, so hand tightening is often sufficient. Some filters come with specific installation instructions, which should be followed accordingly.
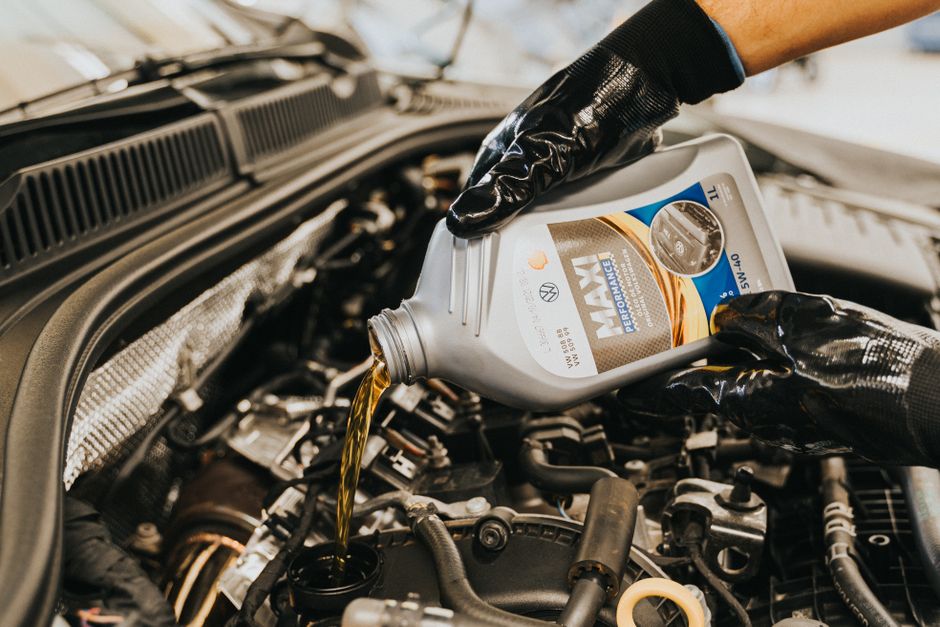
Step 5: Refill with New Oil and Perform Final Checks
Locate the oil fill cap on top of the engine and remove it. Using a funnel to avoid spills, pour the recommended amount of new oil into the engine. It is typical to add slightly less than the full capacity, then top off as needed after checking the level. Replace the oil fill cap securely. Start the engine and let it idle for a minute, allowing the oil to circulate through the new filter. Check the area around the drain plug and filter for any leaks while the engine runs.
Turn off the engine and wait a few minutes for the oil to settle. Then, using the dipstick, verify the oil level and add more oil if necessary to reach the full mark. Repeat this check after a short drive to ensure the level remains stable. Dispose of the used oil and filter responsibly at a collection center or an auto parts store that accepts them. Proper disposal is an important part of the process, as used oil can be harmful to the environment and is regulated in many areas.